
The need it list
· Double sided paper squares (we get ours from good old poundland – they have just brought out some sparkly paper which is awesome!! But you could push the creative boat out and make them out of kiddies drawings on either side of a plain sheet!)
· Scissors
· Croc clips
· Hole punch
· Glue gun (or you could use double sided sticky tape or even some paper glue)
· Split pin paper fasteners
· Straw
The knowhow
So, the rain may be making a bit of an appearance today – but remember yesterday?? That lush heat… It’s set to return by the end of the week apparently – so get ready guys – summer IS coming….
To get into the sun spirit we’re making a age-old favourite – pin wheels! The kids love playing with them and making them is super lovely fun as well – parential win win we think!! So here you go – a very simple tutorial for a lovely make!
Make a pinwheel template – draw a 6 inch square. Find the middle point and mark it with a circle. Draw a 7cm line from each corner toward the middle point. On one side of the line in each corner draw a circle. It should look like this.

Make a copy of your template so you don’t need to do this step again!
1. Cut out the square.
2. Attach the template square to the double sided paper (the paper is underneath!) square using a couple of croc clips
3. Cut the diagonal lines.
4. Make a hole in the middle with one edge of the scissors through both the template and the paper (mummy or daddy hands advised for this step!).

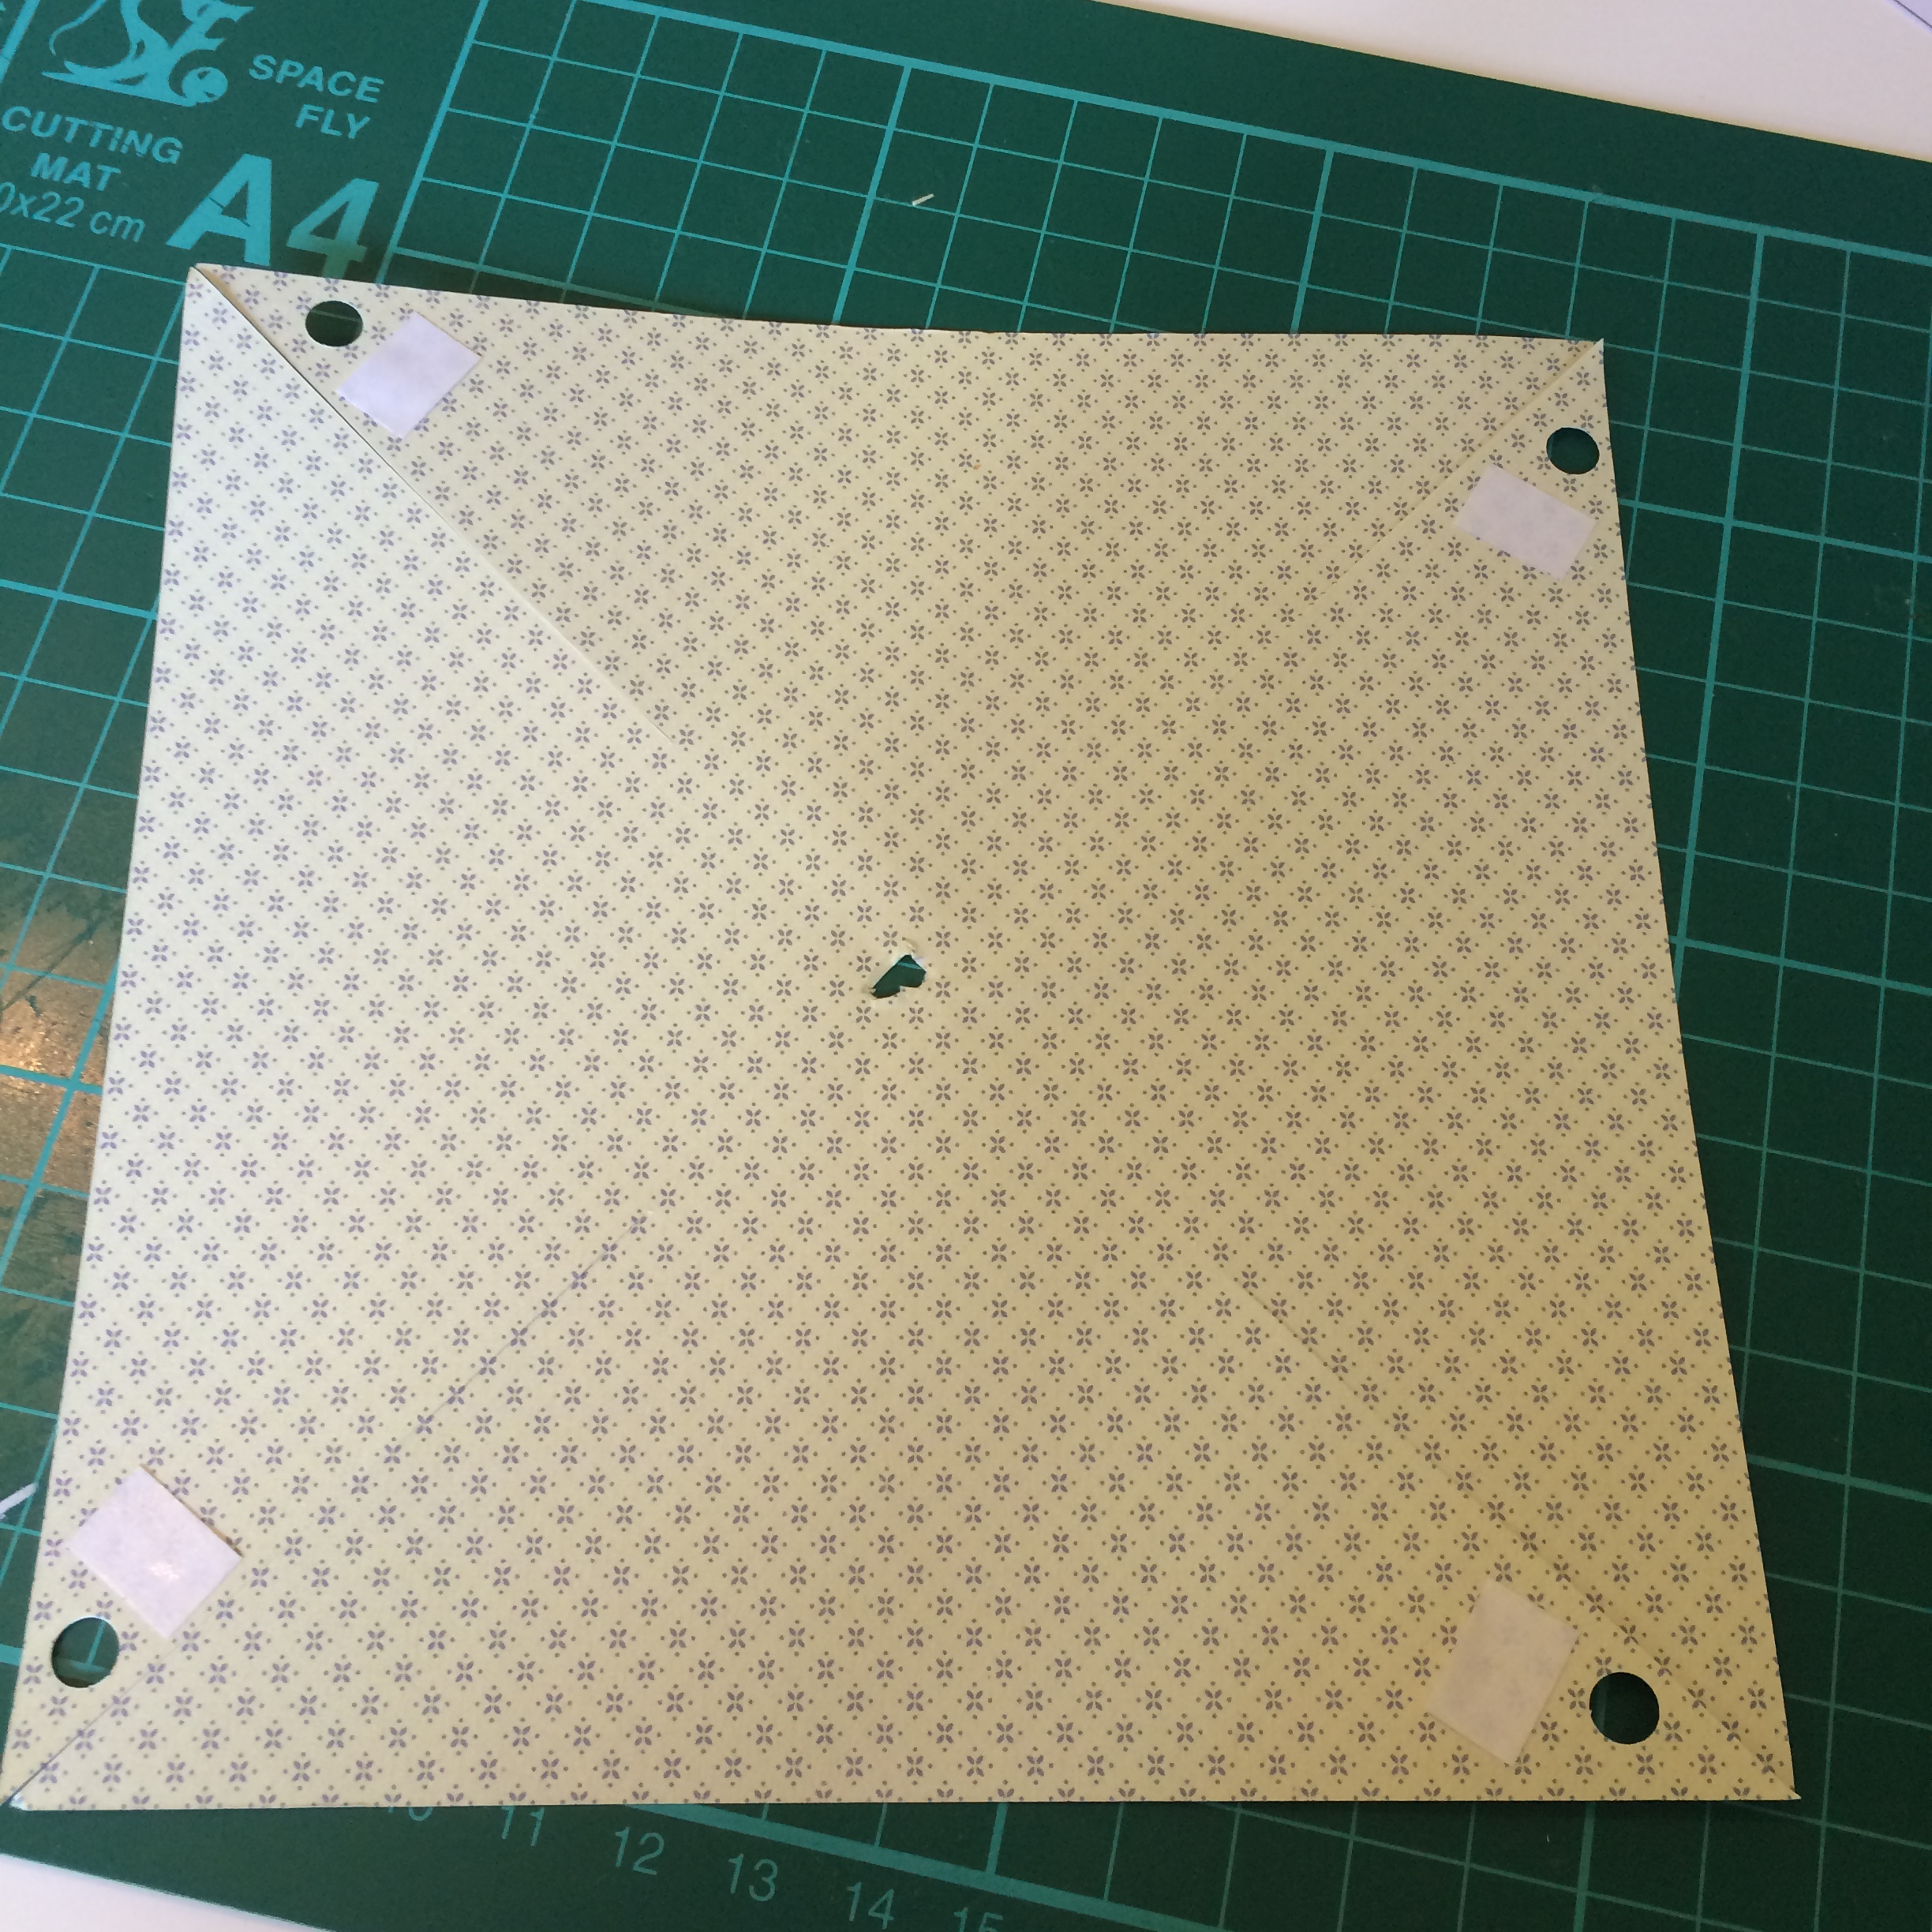
5. Now using a hole punch (we have a racy hand held craft punch but any good old office hole punch will do!)make four holes in roughly the same position as on the template.
6. You are now done with the template! Unclip and do away with the template, leaving just the double sided paper!
7. Now you need to use the glue gun or double sided tape. A glue gun is best as it will hold better but if you are using tape make sure you press really hard! Put a touch of glue or tape just above a corner hole but making sure not to go over the diagonal line that you cut in step 3.
8. Take that hole and align it to the centre hole.

9. Repeat with each of the other 3 holes and align on top of one another until all four corners are glued (only press down on the hole not the folded edge).
10. Now get your split pin paper fastener and pop through the hole.

11. Split the pin at the back and, making sure that the pin is NOT touching the paper, glue gun the straw onto the split pin. Hold in place until it’s dry (again a glue gun is perfect as it drys sooo quickly!).

12. Head to the garden and enjoy!!

We’d love to see if you made this – just use the hashtag #monthofmake and tag us on Instagram (@freckandfire) so we can marvel at your makes!
So! Onto tomorrow – we ARE going for some after-school marbelling! I adore this craft – super easy, the kids are in their creative element and heaps of uses (but more on that tomorrow!). Oh my days – I may even mix it up with a little video! Now, that’s exciting stuff!!